Many people notice that one hip is higher than the other or that their pelvis appears rotated.. It could be that their pant legs seem to be different lengths or that their waistline appears ‘off’ in photos. In some cases, people might have pain and discomfort associated with it. Whether it’s due to a leg length difference or a general feeling of unbalance, I’m going to discuss a solution for you. But it’s important to note that when working directly on the pelvis as I describe below assumes that the pelvis is the cause of the rotation. Other areas can lead to a rotation of your pelvis as I’ll discuss at the end. Let’s dive into the methods that can help you realign your pelvis and alleviate any discomfort you may be experiencing.
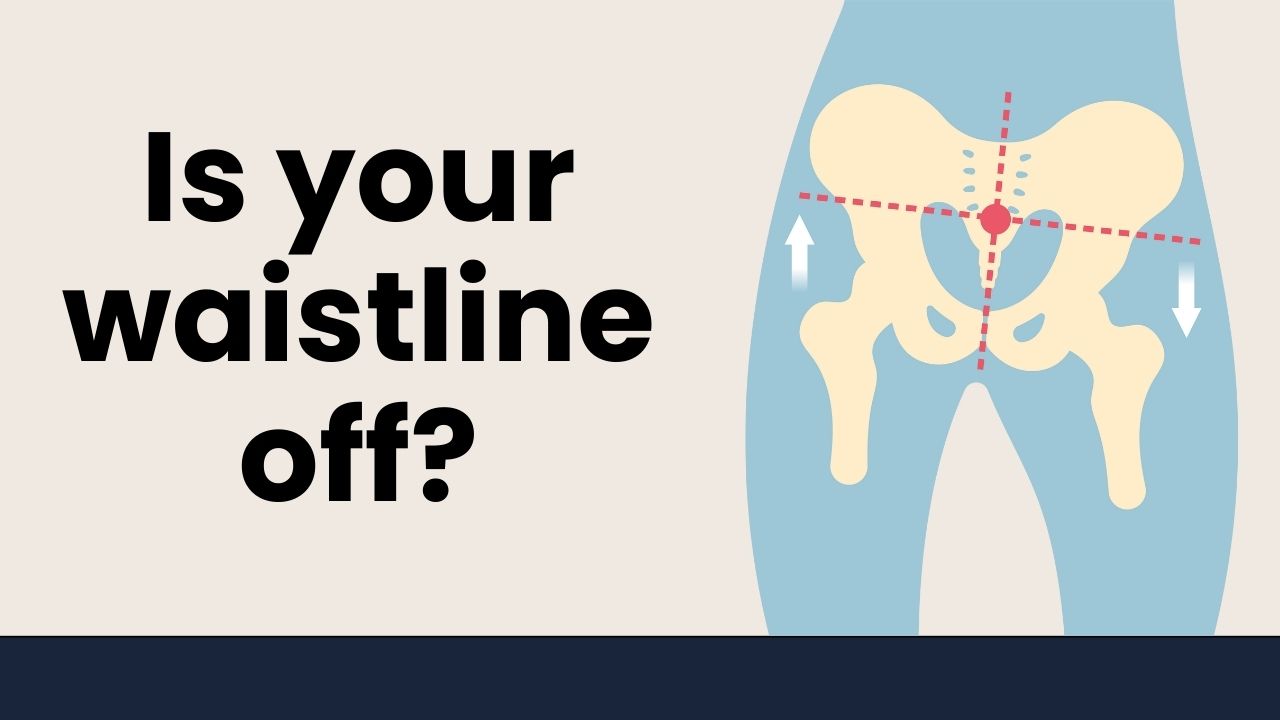
Identifying a Rotated or High Hip

Before we begin any corrective exercises, it is important to determine if your pelvis is truly rotated or hiked up on one side. You can easily do this by feeling for two little bones on the front of your pelvis, they are commonly called the ASIS (anterior superior iliac spine). By placing your fingers on these bones, you can compare their height and alignment. Another method is to have someone take photographs of you from the side and front to visually assess any differences in hip position.
Stretching and Mobilization
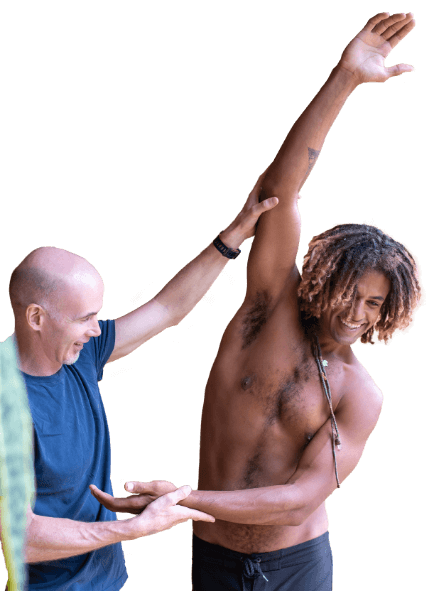
One effective way to balance your pelvis is through a combination of stretching and mobilization exercises. If you have identified the side that is rotated forward or backward, you can begin by reversing that rotation. For example, if your left side is rotated forward, place your left foot on a step or stool while keeping the right foot on the ground. This movement flexes the hip and pushes that side of the pelvis, in this case, the left, backward. You can add to this rotational force by tensing the muscles in your legs for about three to five seconds, then relax. Repeat this process a few times to encourage a change in muscle length and tension in your pelvis. The contracting and relaxing of the muscles while the hips are in this position helps the body ‘reset’ the tone of the muscles around the hip and pelvis which might have been causing the rotation.
Watch this video to learn how:
If you are unsure about which side is rotated or if both sides are affected, perform the exercise on both sides. Adjust the height of the stool or step based on your comfort level. The goal is to create a gentle stretch in the front of your hip and engage the muscles involved in realigning the pelvis.
Joint Release Technique
The pelvis consists of a ring with joints at the front (pubic symphysis) and back (sacroiliac joints). To encourage movement and realignment of these joints, follow these steps:
By performing this joint release technique, you can help balance the joints in your pelvis and improve overall alignment.
Strengthening the Pelvic Muscles
In addition to stretching and mobilizing, it is crucial to strengthen the muscles of your pelvis. These muscles support the hips and aid in pelvic rotation. Follow these steps to strengthen your muscles in the pelvis, the video above demonstrates this exercise as well:
This exercise combines stretching and strengthening to promote proper muscle engagement and alignment in the pelvis.
Lastly, if you are dealing with scoliosis and back pain, I encourage you to check out my latest online course “Scoliosis Symmetry Method” to start moving your spine right away. You’ll learn how to increase mobility and add traction to your spine. Go to: https://scoliosiscorrectionprotocol.com/ssm
Over the last 10 years Ed has been building a YouTube library to help people manage their own pain or movement limitations and increase performance through exercise. He regularly adds videos so be sure to subscribe and visit regularly

"Oh My Gosh- I am ALREADY feeling relief after a few days! I used to wake up 2-3 times a night with shooting pain that anti inflammatories couldn't touch. Now I have been waking up just because I want to notice what it feels like to lay in bed pain free- THANK YOU!."

"When I first started with your program I was experience a lot of pain. Walking was difficult. I had to stop and catch my breath every few minutes and lean against a wall for support. Now when I walk with my husband we go for over an hour. I never had to sit down and stop...and, hardly any pain!!! 😊😊 I can’t thank you enough."
Frustrated that you aren't recovering fast enough?
Discover how to heal from illness and injury using movement, food and lifestyle.